Slicing with Grasshopper
How to use dFab's grasshopper slicer
Launch grasshopper & open Lutum5M-dFab.gh
Set a Brep
Select Build plate you will be using
Move object to the desired printing position All objects to be printed must fall within the set build plate area and must be positioned at the correct z height.
Connect the contour component to the desired toolpath style & press ▶ on the data dam
Connect Point data to Points component
this will create a toolpath visualisation & generated the instructions for the printer to follow -gcode
To Export gcode,
Right click on the last panel in your grasshopper script
Select
Copy All ContentsOpen a Notepad (windows) or TextEdit (MacOS) document and paste your gcode
Save file with the extension .gcode.
Alternatively you can save the gcode using grasshopper.
Right click on the last panel in your grasshopper script
Select Stream Destination
Set the Stream Destination by navigating to the desired folder location
Name your file and save with extension .gocode
Right Click and select Stream Contents to save the panel contents to your newly created file.
To prevent the loss of old gcode, we recommend exporting via Notepad or TextEdit.
Script Breakdown
Layers
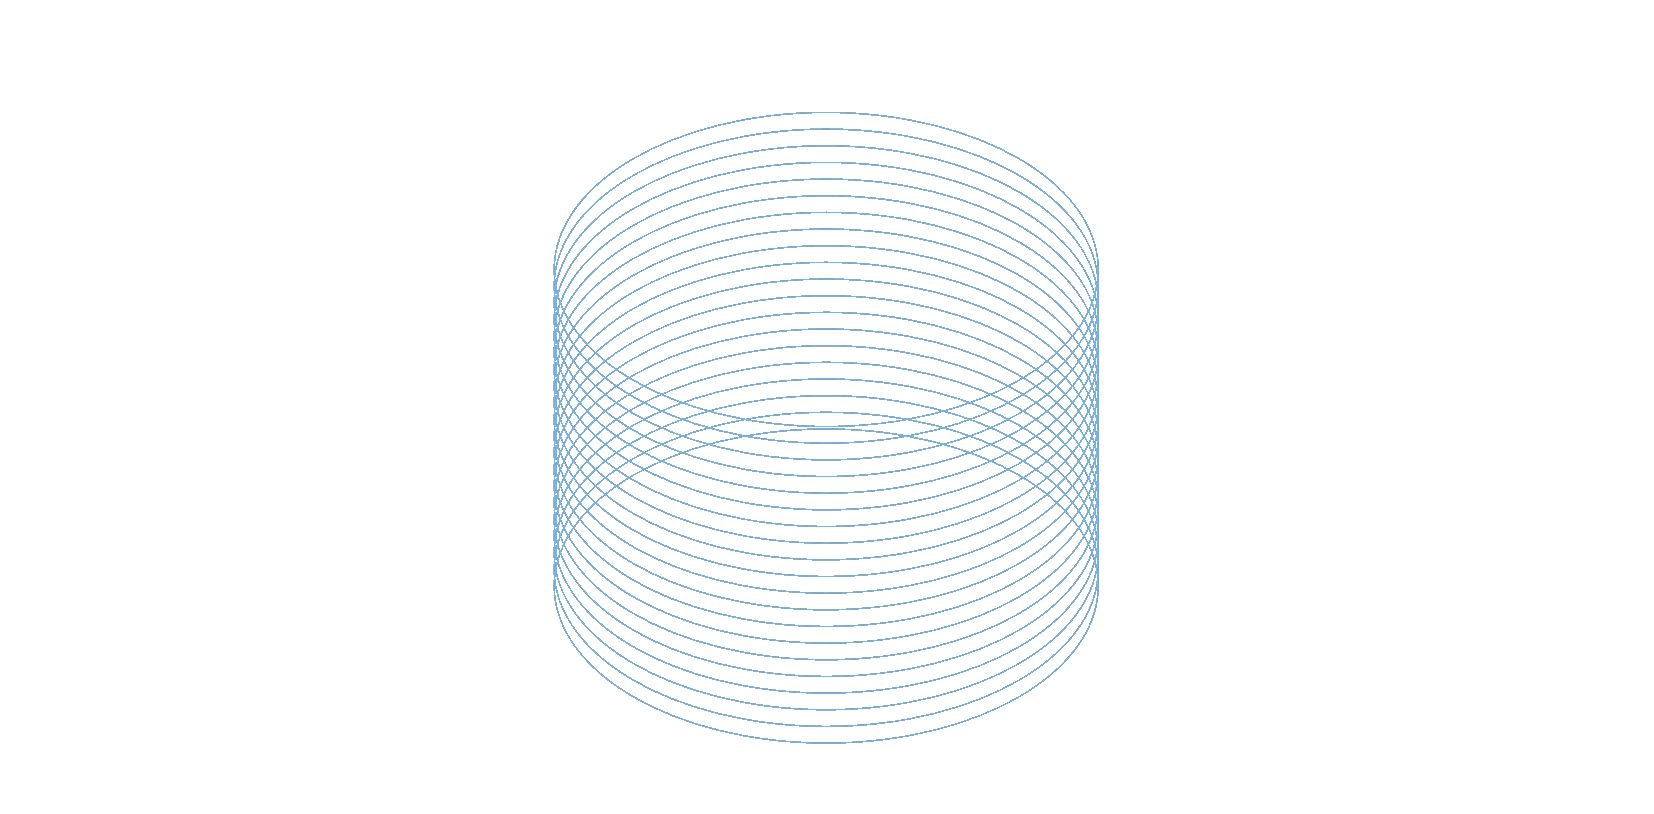
Once an object has been added to the grasshopper script, it is split into a series of cross sectional curves using the Contour component.
If layer height is modified, the extrusion calculation must also be adjusted.
Points
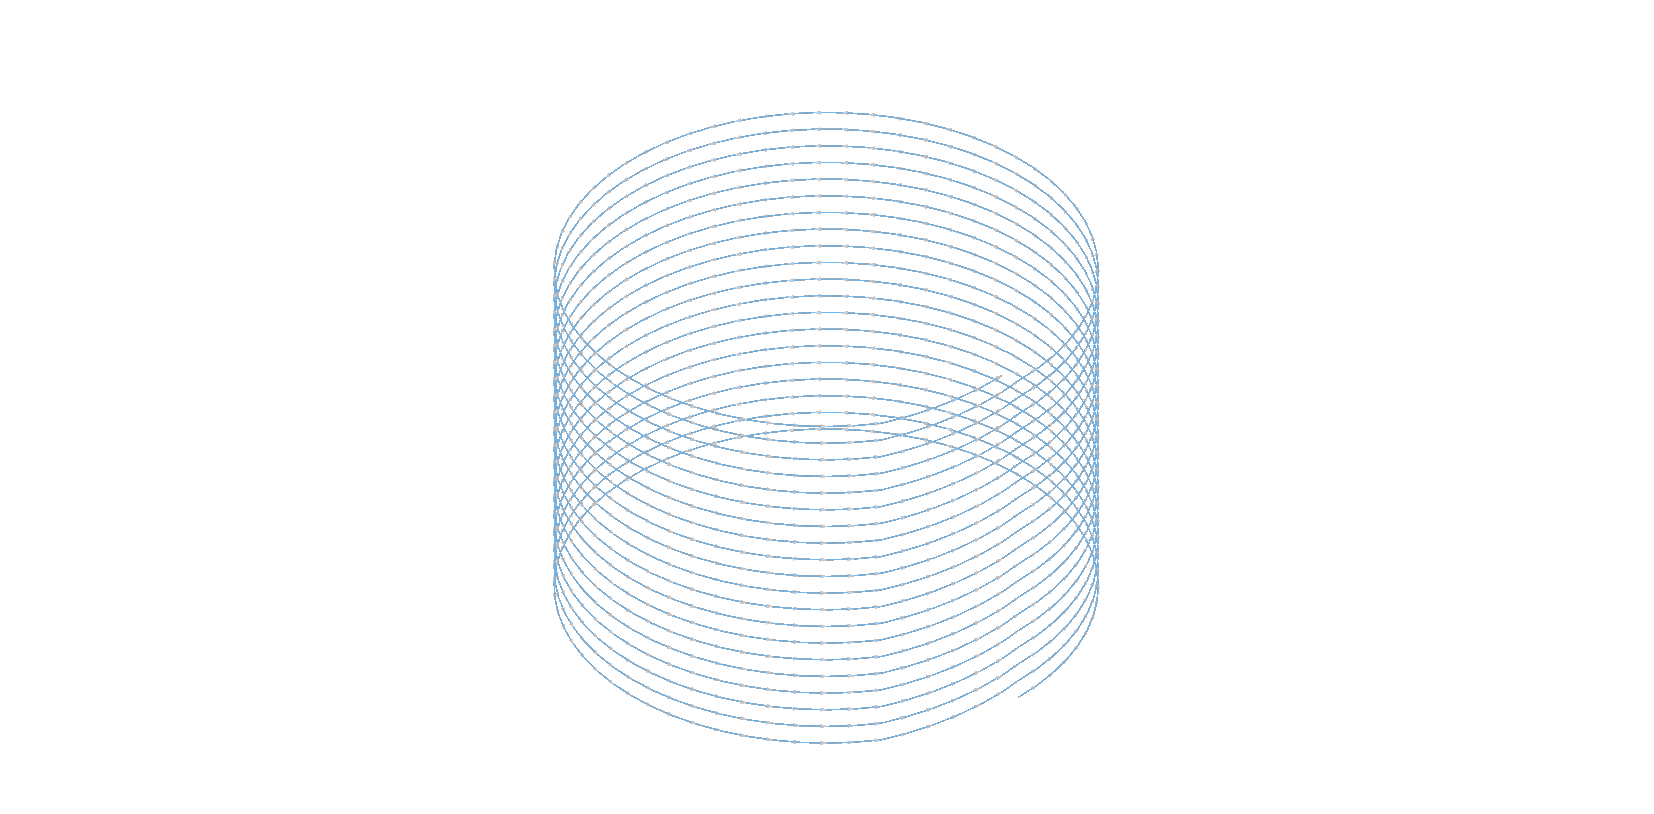
The contoured curves are then divided into the individual points that the extruder will move between.
X, Y, Z & E
As the printer will not visualise the toolpath or understand XYZ coordinates, points must be broken down further into their individual X,Y, and Z values.
Extrusion values (E) are then calculated by measuring the distance between each point along the toolpath
All values,X, Y, Z and E are then rounded to 2 decimal places before being compiled into gcode - a set of text instructions that the ceramic printer can read and follow. In this compilation, a custom printer specific header and footer is appended to the start and end of the gcode.
Last updated