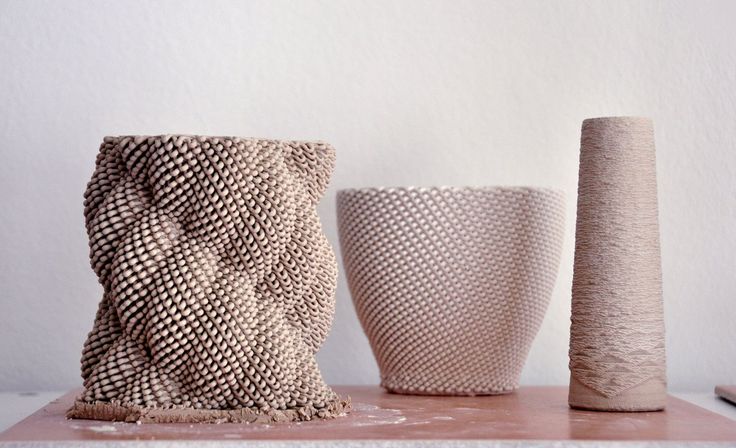
What is Ceramic Printing?
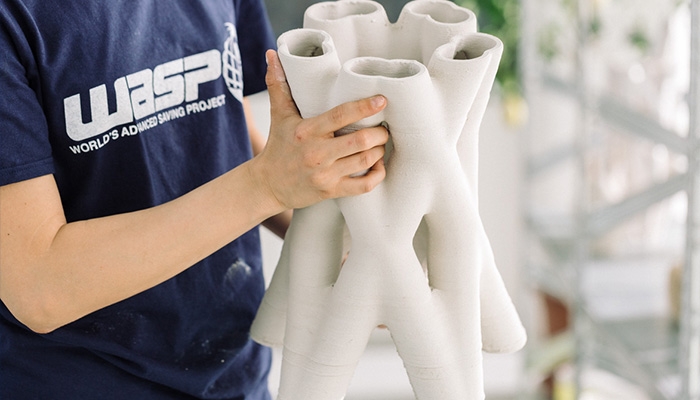
Liquid Deposition Moulding (LDM) more commonly referred to as Ceramic Printing is a method of 3D Printing where a ceramic paste or slurry is extruded through a nozzle constructing three dimensional objects, layer by layer. Once printed, objects can undergo traditional ceramic processes such as trimming & shaping before the printed clay body is fired into permanence. Alternatively unwanted prints can easily be recycled and reclaimed.
Clay Preparation
Before printing, clay must be prepared. At dFab this is typically done by Technical staff
Step 1. Hydrating
All clay is hydrated to ensure it can be printed with ease. This is done by placing clay in a sealed vessel with water. Over a number of days the clay will slowly absorb the moisture.
Step 2. Wedging
Once the clay has been hydrated to the desired consistency, it can be wedged. Wedging is the process of kneading clay to remove air bubbles and ensure a uniform consistency. Through wedging clay becomes more pliable, ideal for 3D printing.
Step 3. Loading
After wedging, the clay is then loaded into plastic tubes and sealed. It is then stored until it is required for printing
At dFab a pugmill is used to wedge and load tubes. All preloaded clay tubes are stoneware.
If you would like an alternative clay or you are interested in preparing your own clay for ceramic printing, submit a consult.
Slicing
Objects for ceramic printing can be sliced using Prusa Slicer (a traditional 3D printing slicer) or alternatively Grasshopper (a visual programming language and environment that runs within Rhino)
Prusa Slicer
Beginner Friendly, no prior understanding of .gcode required
Similar to a traditional FDM slicer
Automatic Vase Mode & Infill generation
Planar Printing
dFab Slicing presets
Grasshopper
Advanced programming and manipulation of toolpaths.
Full customisability
Planar & Non-planar Printing
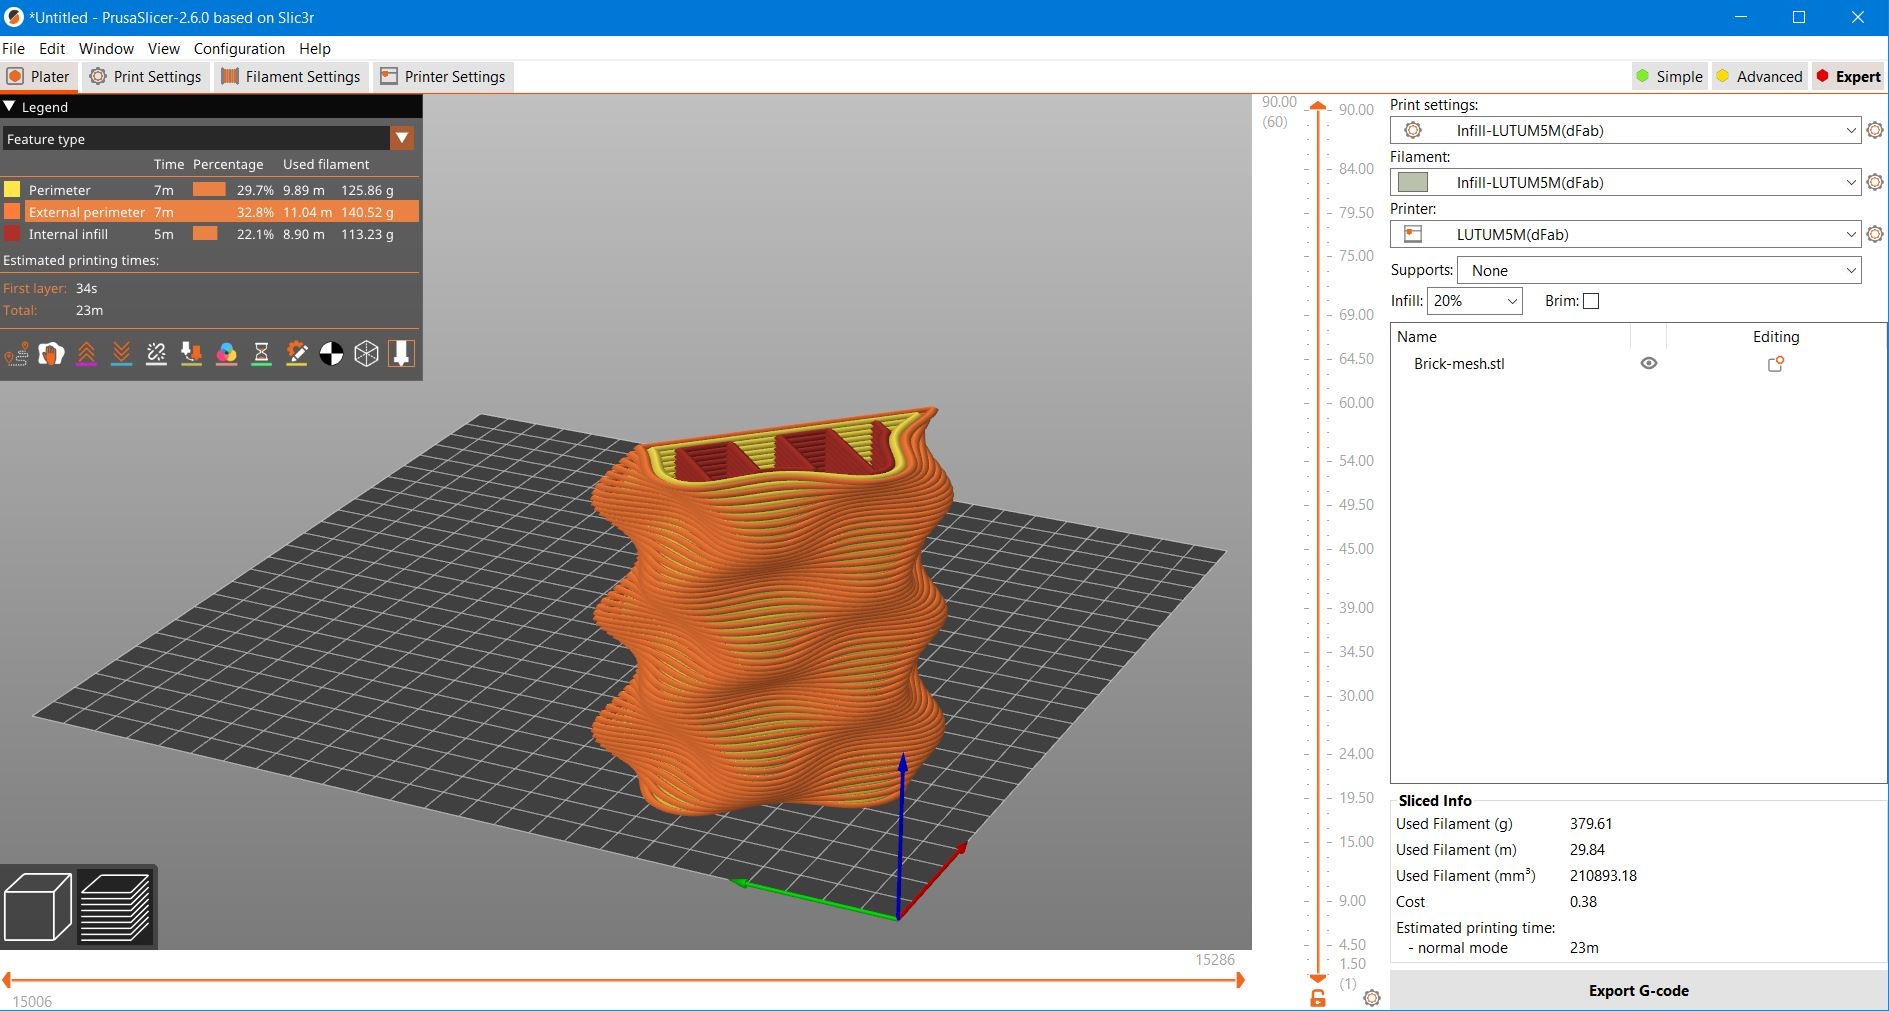
Prusa Slicer
Prusa enables you to slice objects for ceramic printer easily without the need to ever look at the underlying code. Utilising complex slicing algorithms, Prusa slicer offers fast & easy customisation of simple parameters such layer height, infill, perimeter layers, and printing strategy.
Download & Install
Download config bundle
Open Prusa Slicer
Select File > Import > Import Config Bundle
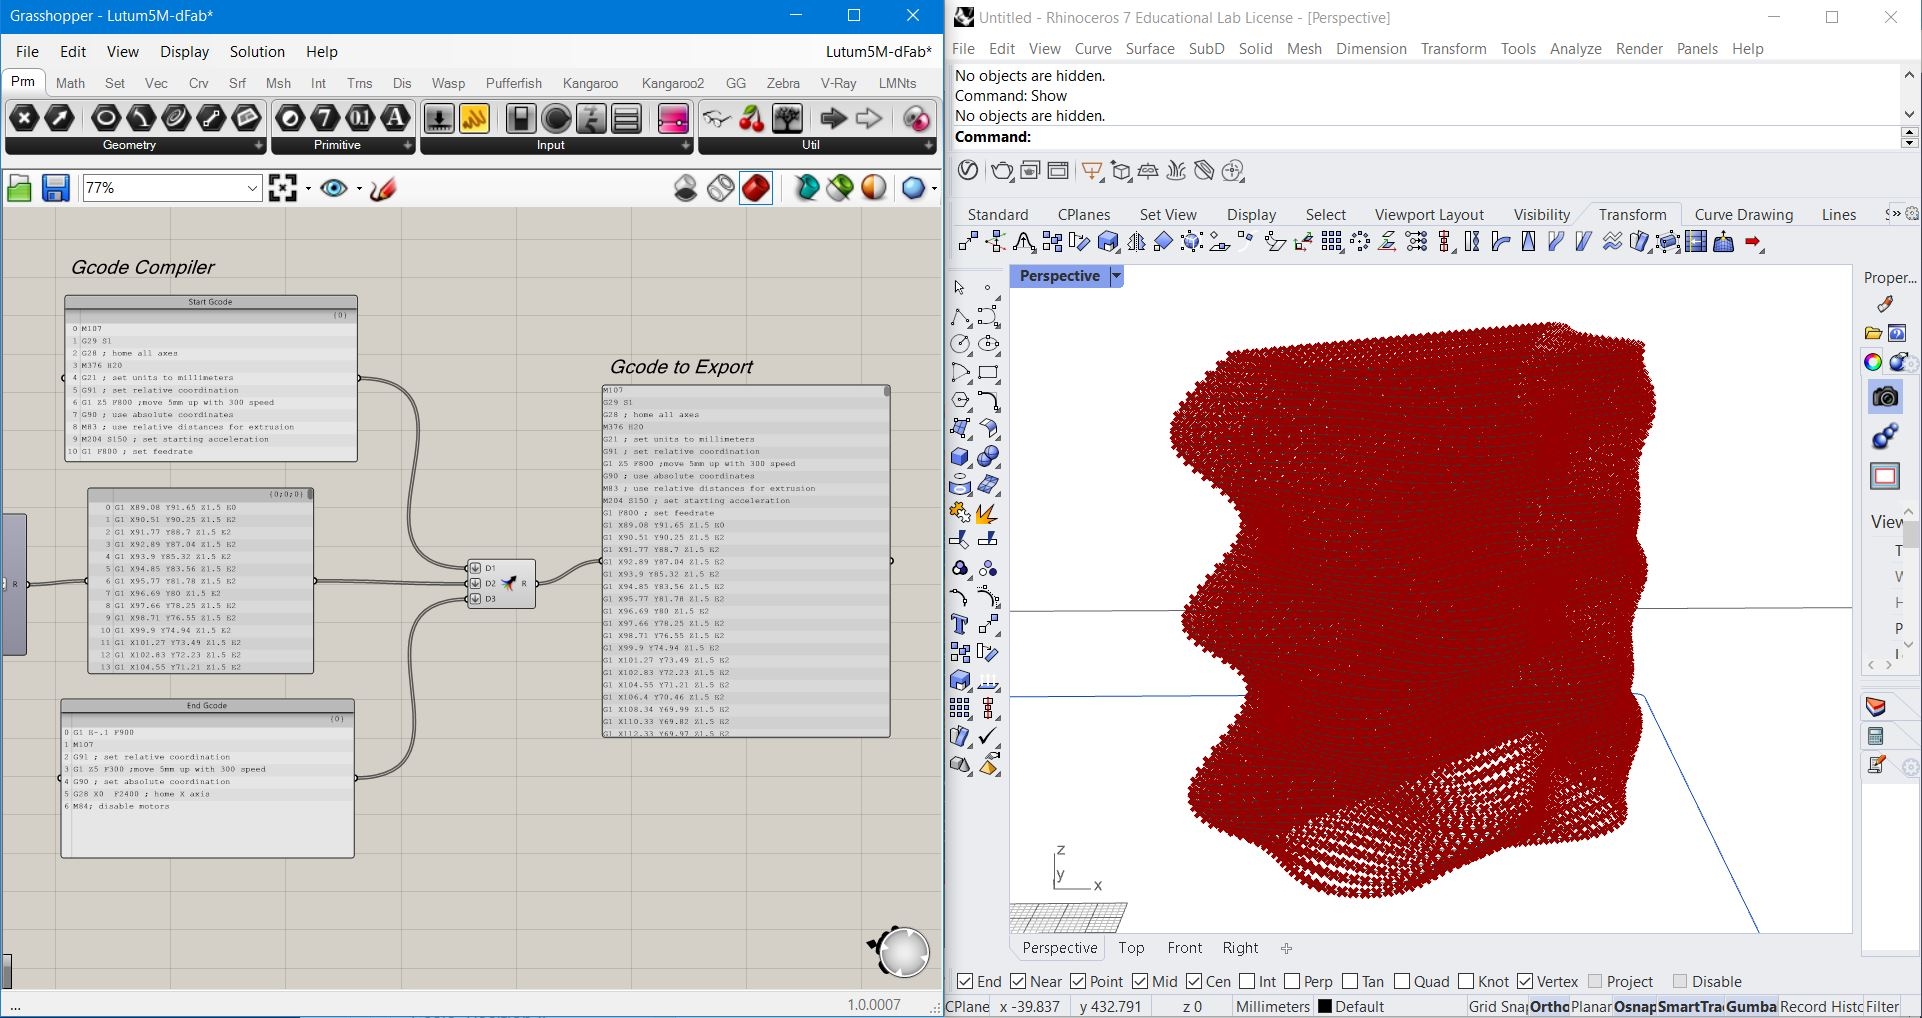
Grasshopper
Grasshopper enables you to control every movement of the ceramic printer. This is done by creating the series of points which the extruder will move between - the toolpath.
dFab's grasshopper script contains two printing strategies; layer by layer and ramped/continuous with all code calculations and compilers for the dFab Lutum 5Ms included.
We recommend slicing models with grasshopper when they contain overlapping / intersecting profiles or if you would like to have full control over the toolpath (eg; creating complex surface artefacts, non-planar printing, etc.)
If you are interested in complex printing strategies we recommend Advanced 3D Printing with Grasshopper: Clay and FDM by Diego García Cuevas
Drying & Post Processing
Once a print has been completed it must be left to dry for several days before firing. Over this period, the clay body transitions between plastic, leather hard & bone dry. A clay object will shrink during each of these stages. Details can usually be obtained from the clay manufacturer as to what percentage value the object will shrink but as a general rule of thumb you can expect around 12% overall volume shrinkage from wet to fired.
Plastic
Immediately following printing, the printed clay body contains a large volume of water and can be deformed easily. Whilst in this plastic state it is best to limit movement of the clay body and avoid touching the print more than necessary. After printing, prints are placed on racking in a controlled environment or drying cupboard for several days to allow the physical water to dry out from the clay body.
Leather Hard
When the clay body has lost ~% of its water its is considered leather hard. At this stage the prints can be handled or fettled without deformation. This is the best time to trim, shape and transport the clay body as it is not yet brittle to the touch
Bone Dry
Once the clay body no longer feels damp or cool to the touch it is considered bone dry. At this stage the print can be placed into a kiln for a bisque firing
Clay objects which are not yet fired are referred to as green-ware. Once bisque fired, the clay body is referred to as bisque ware
Last updated