Sending Files to the Laser Cutter
Printer Selection
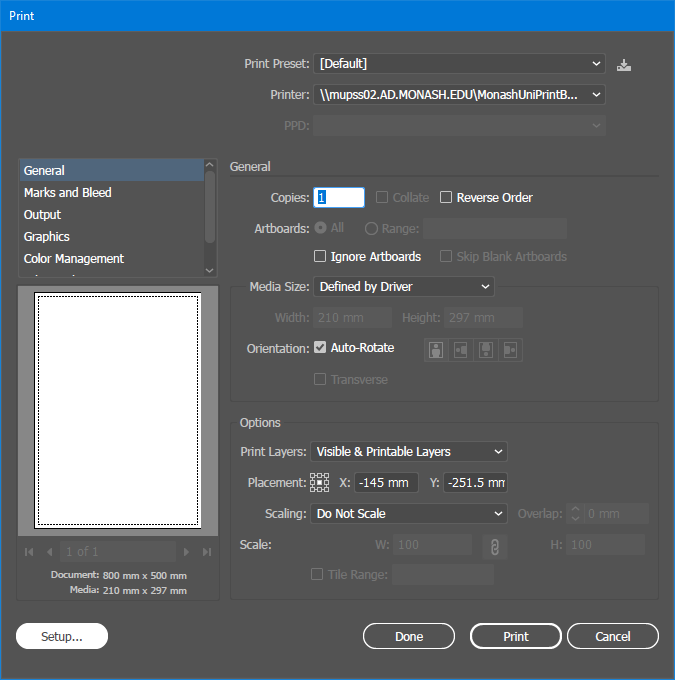
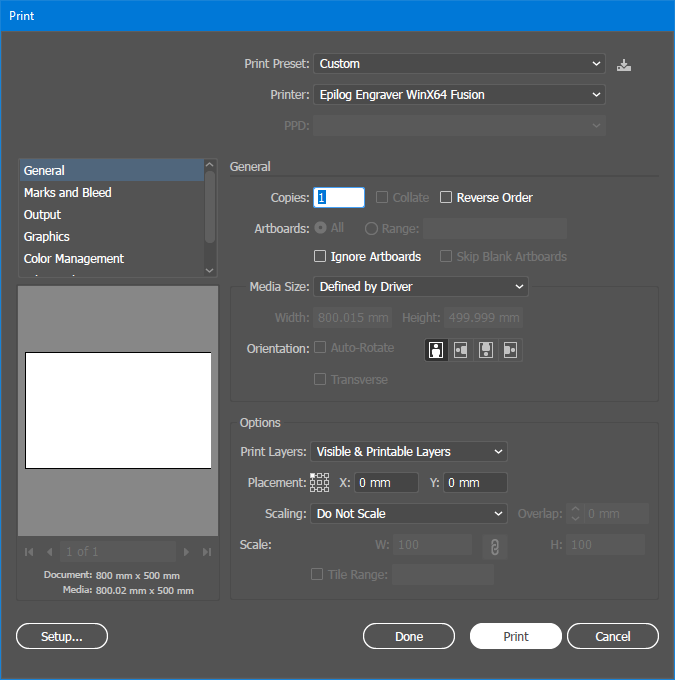
Access the Print dialog box
File>PrintorCtrl + PAccess the secondary print dialog box by clicking
Setup...in the bottom left cornerSelect the
Epilog Engrave WinX64 Fusionfrom the list of printersSelect
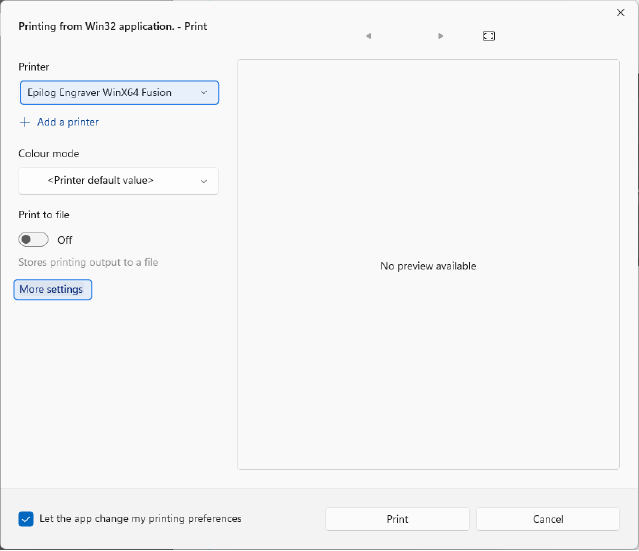
More Settings
Material Selection
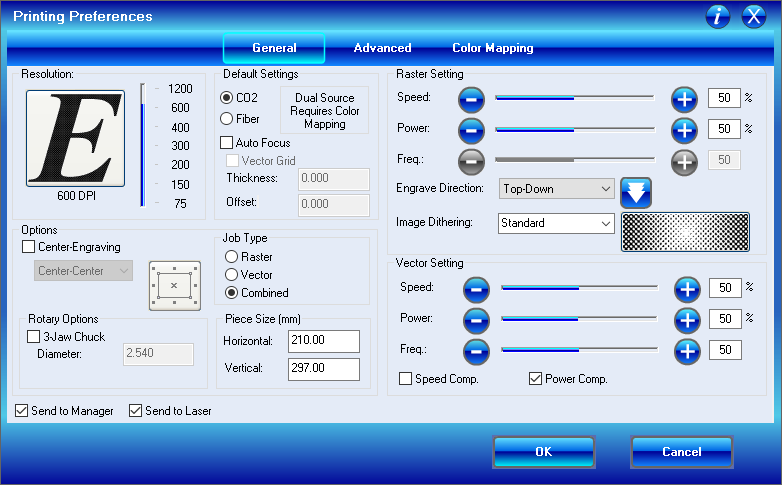
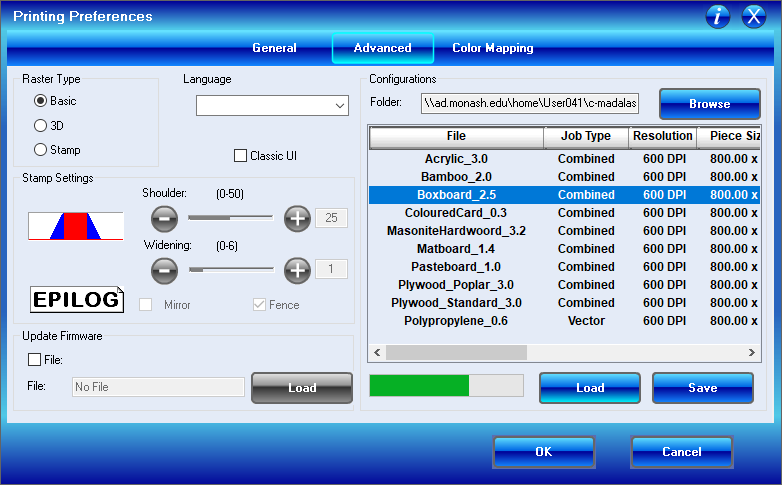
Once the Printing Preferences dialog box has opened, select the
AdvancedtabFrom the listed materials, select the material you will be cutting & click
LoadIf your material is not listed please notify dFab staff. Do not select an alternative material.Click
Loadagain to ensure the material has been selectedClick
OKto close the Printing Preferences dialog doxClick
Printto close the Secondary Print Dialog
Artboard Alignment
In the Print dialog box
Uncheck Auto-RotateandEnsure Artworkplacement is set to theTop Left Corner.Click Done to close the Print dialog box. This will reset the driver and update the print preview window
Re-access the Print dialog box
File>PrintorCtrl + Pand review the print preview. Print preview must display the full laser bed dimensions. If the artboard appears to be cropped or oriented incorrectly, repeat Printer Selection, Material Section & Artboard Alignment.Click
Printto send the file to the laser cutter
Last updated