Die Design Guide
All design guidelines are recommendations to ensure a successful forming outcome. dFab has the right to refuse any forming where forming dies do not follow the design guidelines set out below.
If you have a design that does not follow the design guides, we recommend submitting a consultation to discuss the project further.
No undercuts / Die split to accommodate the release of undercuts. | |
Positive 5° - 7°, Negative 2° - 3° | |
> forming sheet thickness | |
No air pockets should be present within a forming die | |
Diameter between 0.5 - 1 mm provided diameter is less than half the forming sheet thickness. |
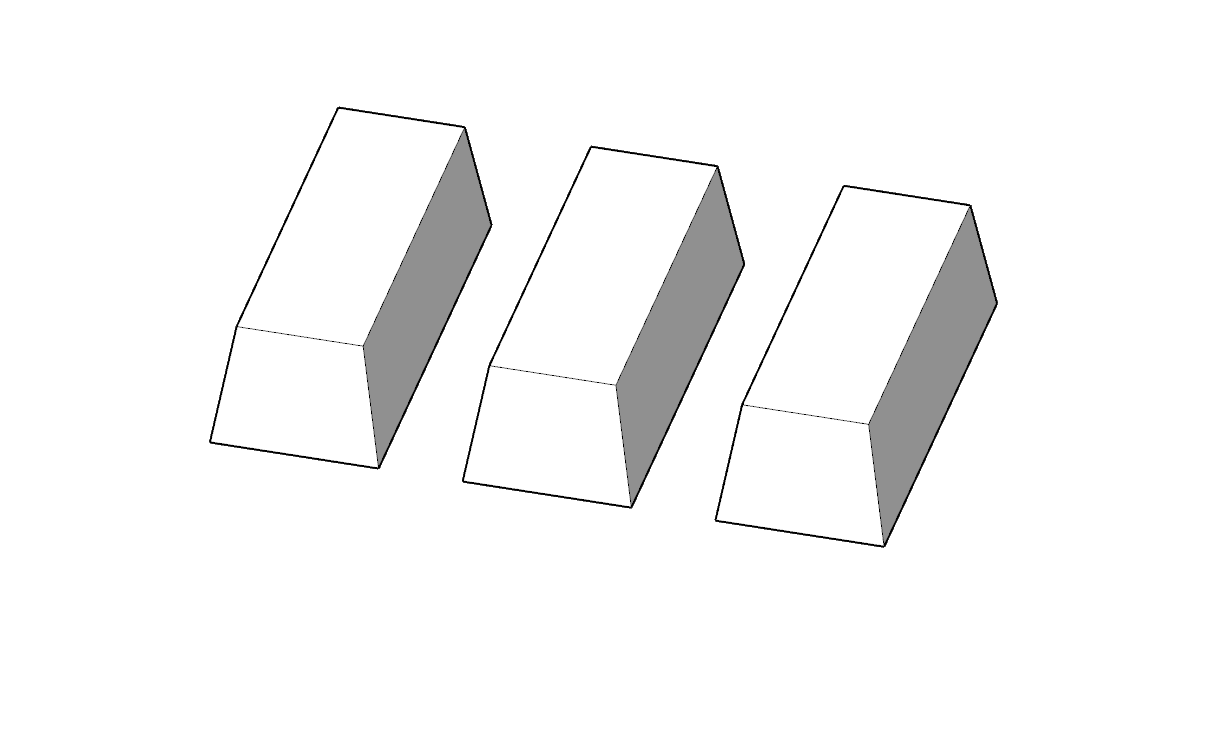
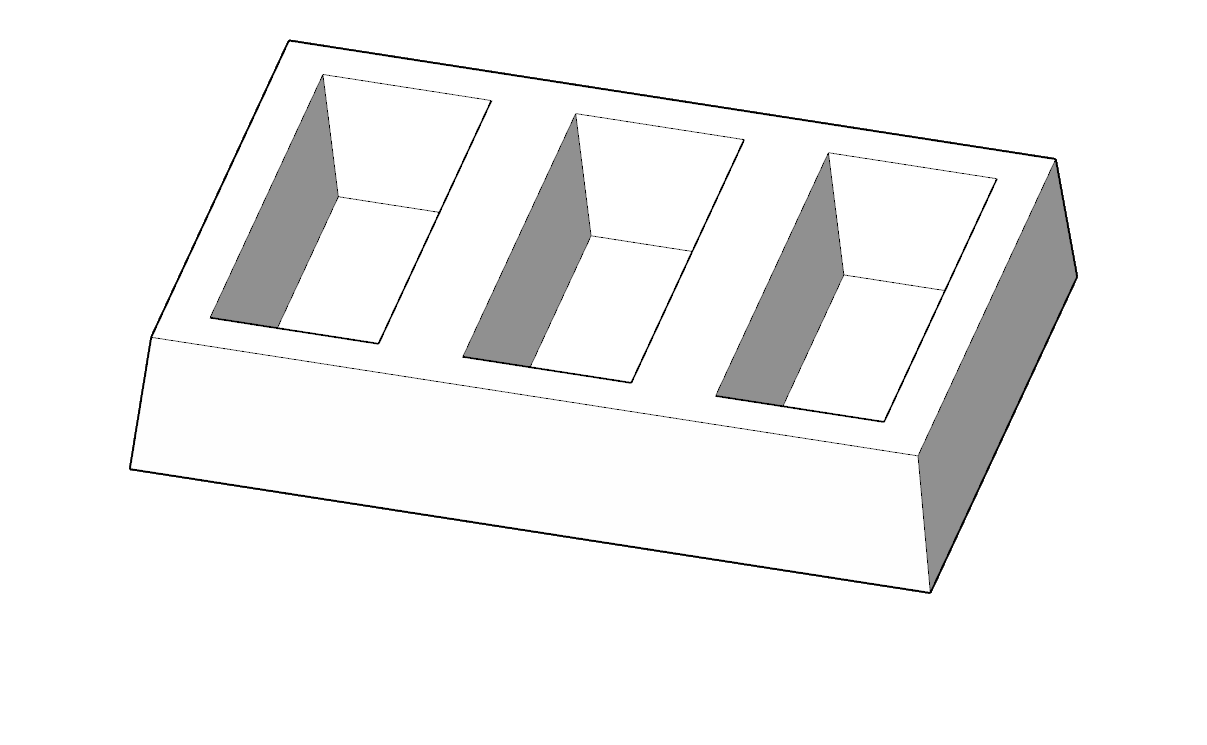
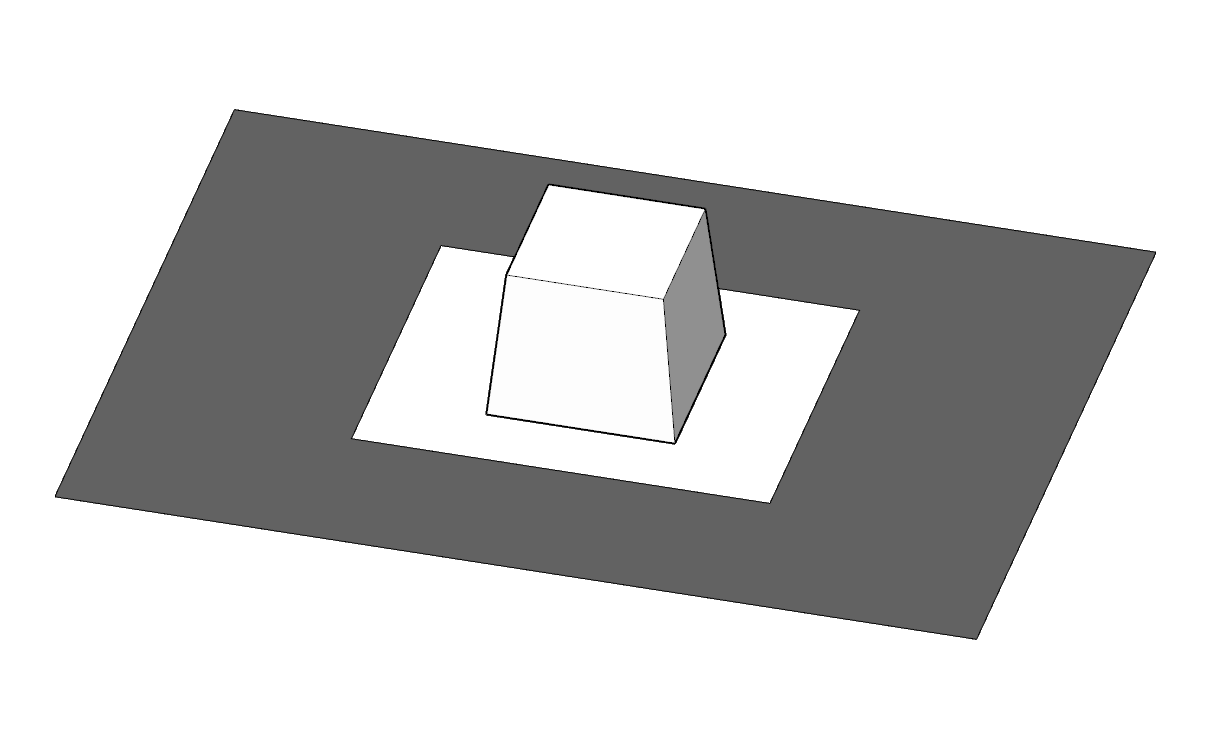
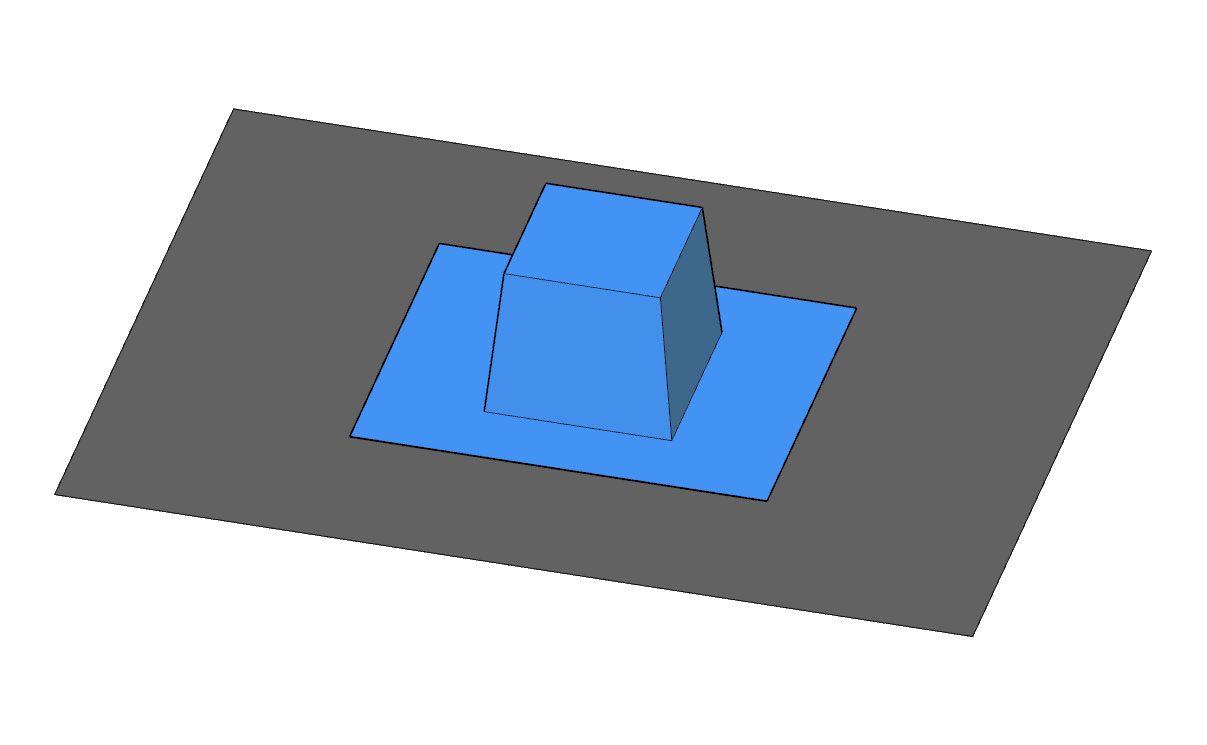
Positive & Negative Moulds
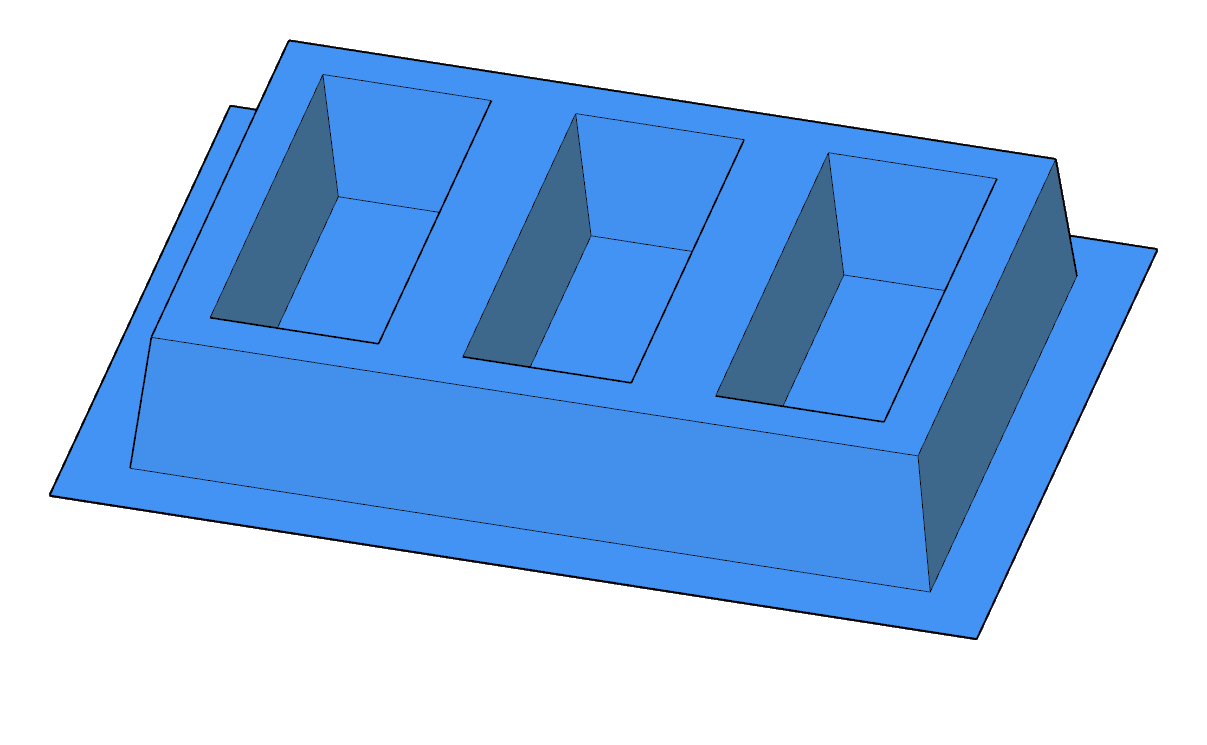
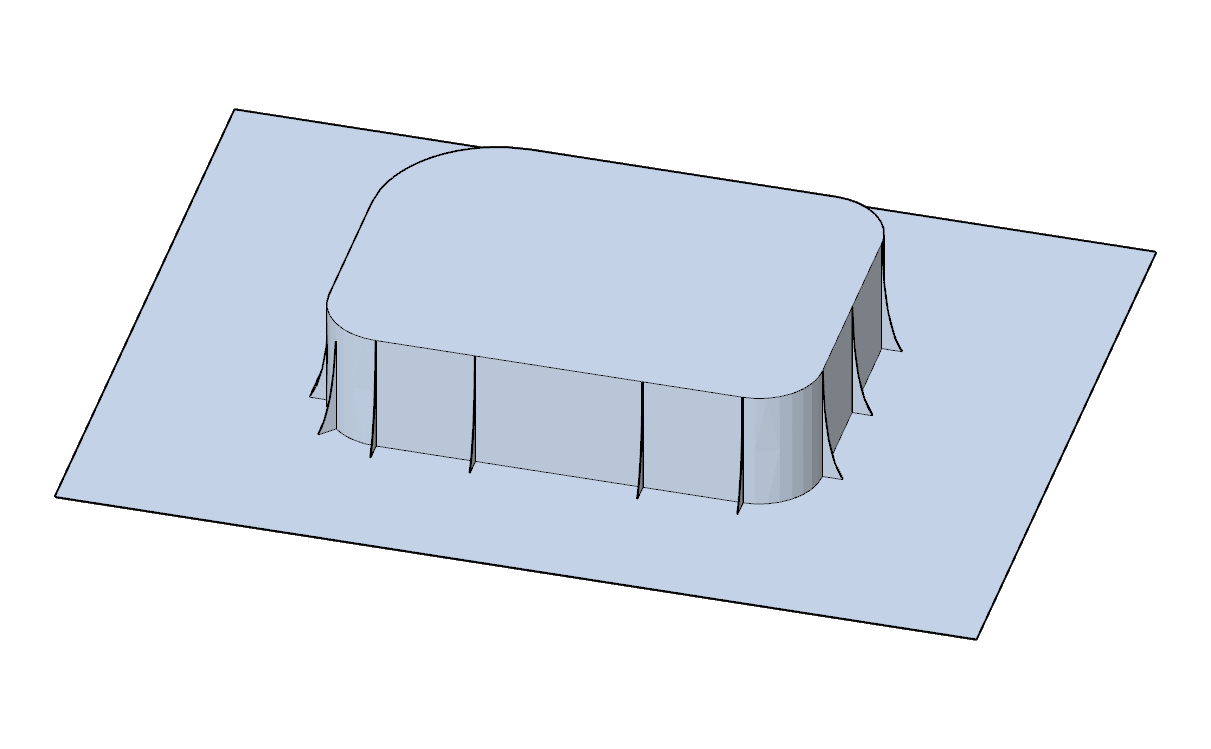
There are two main types of mould designs; positive and negative moulds. Often a positive tool is much easier to make and more suitable for a single deep-draw object. A compartment tray with divisions, would typically be of negative construction.
Most objects can be made using either a positive or negative mould. When designing a buck, consider the desired outcome
Surface Finish
When forming, the of a moulding will always have an better surface finish as it does not pick up any surface textures or dust particles from the forming tool.
Dimensional Accuracy
When forming, the of a moulding will always have better dimensional accuracy as this side of the material was in direct contact with the forming tool.
Undercuts
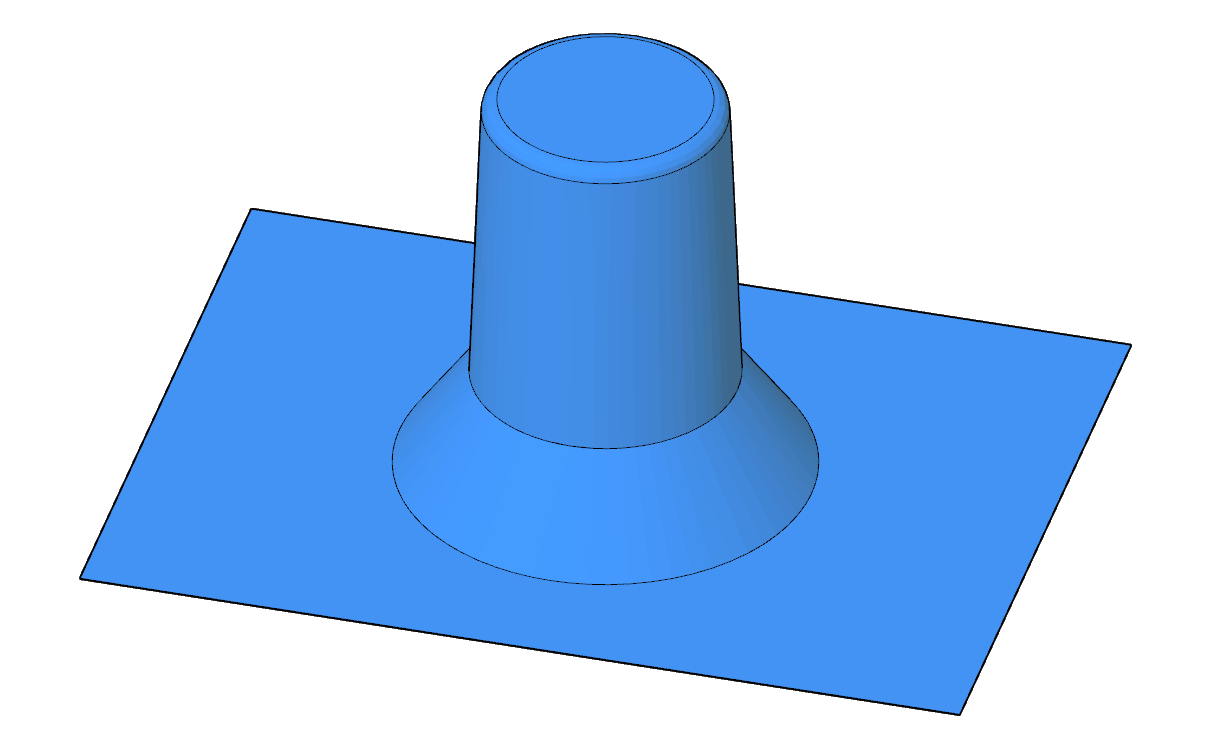
There must be no undercuts that will result in the forming tool being trapped within the formed plastic.
An undercut can be present in a tool if at least one of the following is true;
The direction of removal is equal to or greater than the angle of the undercut.
Multiple undercuts can be present if all undercuts are in the same direction.
The die has been split into multiple parts that can be removed independently
Multiple undercuts can be present if all undercuts are in the same direction.
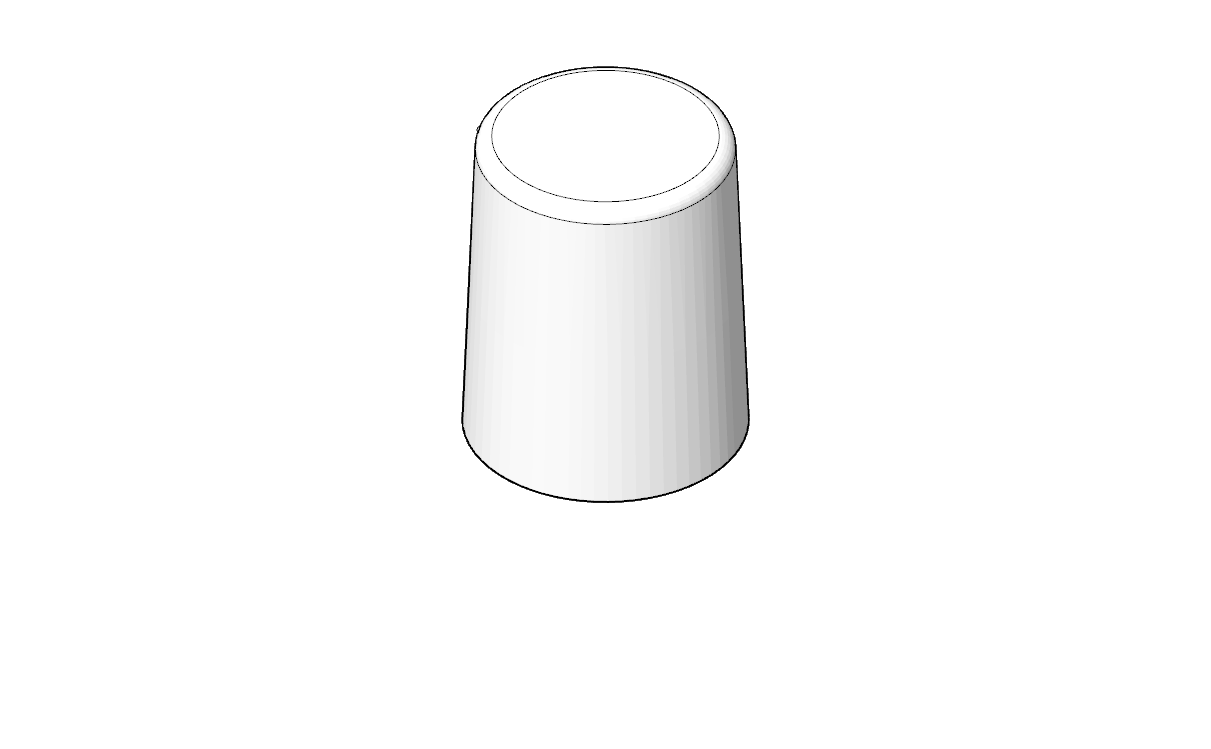
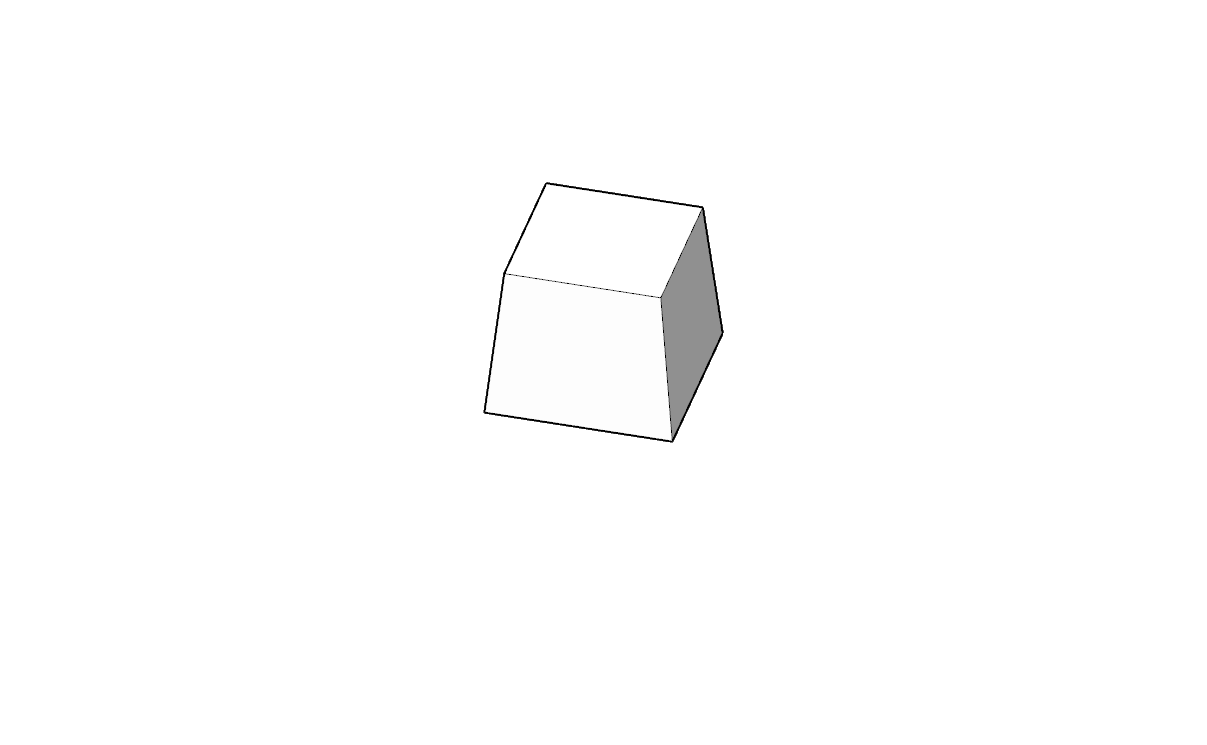
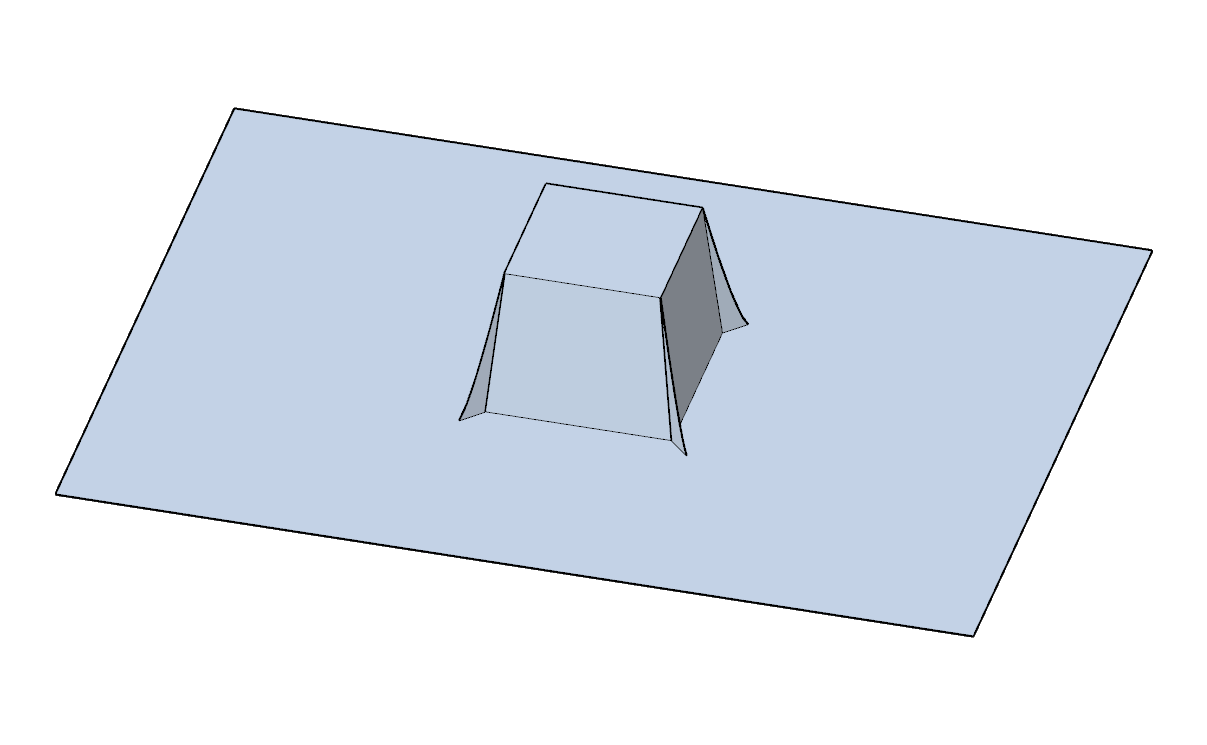
Draft Angles (Draught Angles / Taper)
Draft angles are tapers that are applied to all vertical walls to ensure the formed plastic can easily release from the forming die.
Positive Mould
5° - 7°
Negative Mould
2° - 3°
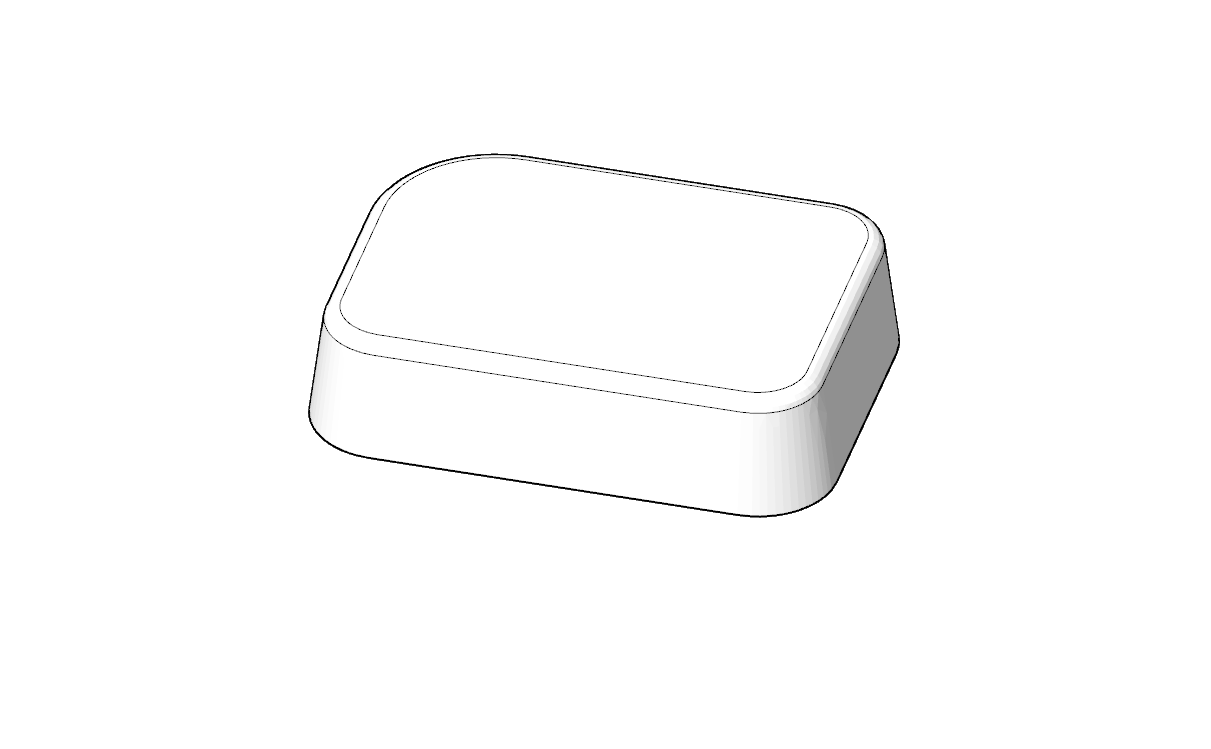
Sharp/Acute Edges & Angles
All horizontal edges should be given a radius, fillet or chamfer. This provides a smoother surface for the heated plastic to flow down, reducing webbing along vertical faces.
Sharp vertical walls should be given a radius greater than the forming sheet thickness. This prevents material thinning and improves uniformity across the part.
Air Pockets
All dies must be designed and built in such a way that no air is trapped in or around the die,. This is to ensure all air can be expelled during the vacuuming operation.
If pockets of trapped air are unavoidable, the problem can be overcome by providing sufficient bleed holes in the die through which air can be evacuated.
If air is trapped within the die itself, air may bleed out before the sheet material has fully re-hardened, likely resulting in an unsuccessful shot.
Venting - Bleed / Drain / Vacuum Holes)
Bleed holes can be used to evacuate trapped air within a die or to improve vacuum pressure on parts with sharp details or deep pockets.
Bleed holes must have a diameter between 0.5 - 1 mm provided diameter is less than half the forming sheet thickness. This will prevent dimples on the formed surface.
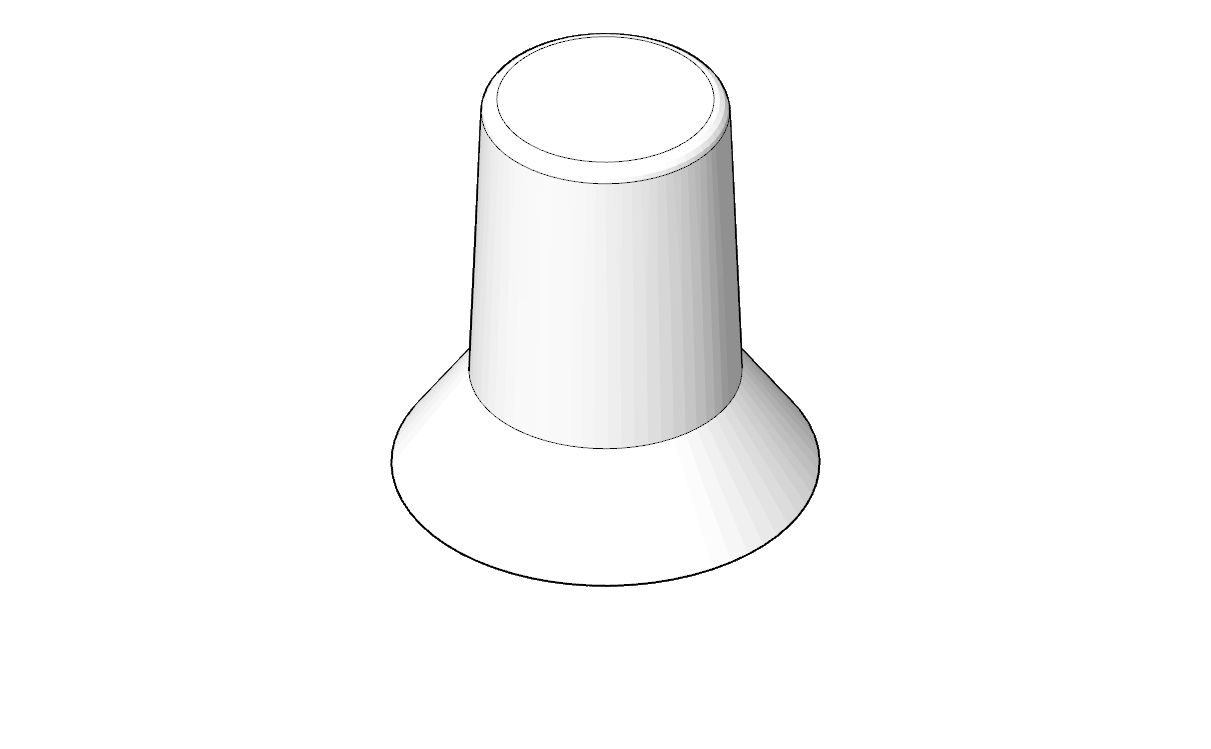
Webbing
When forming, the heated plastic sheet will always take the path of least resistance when the vacuum has been applied. This can sometimes result in webbing when the flow of the heated plastic sheeting cannot be controlled sufficiently.
Typically webbing occurs due the forming sheet being pre-stretched beyond the required surface area.
Height : Area
Parts that have a large height to area ratio will result in webbing.
This can be avoided by adding an additional volume consisting of drafted surfaces to consume the excess material.
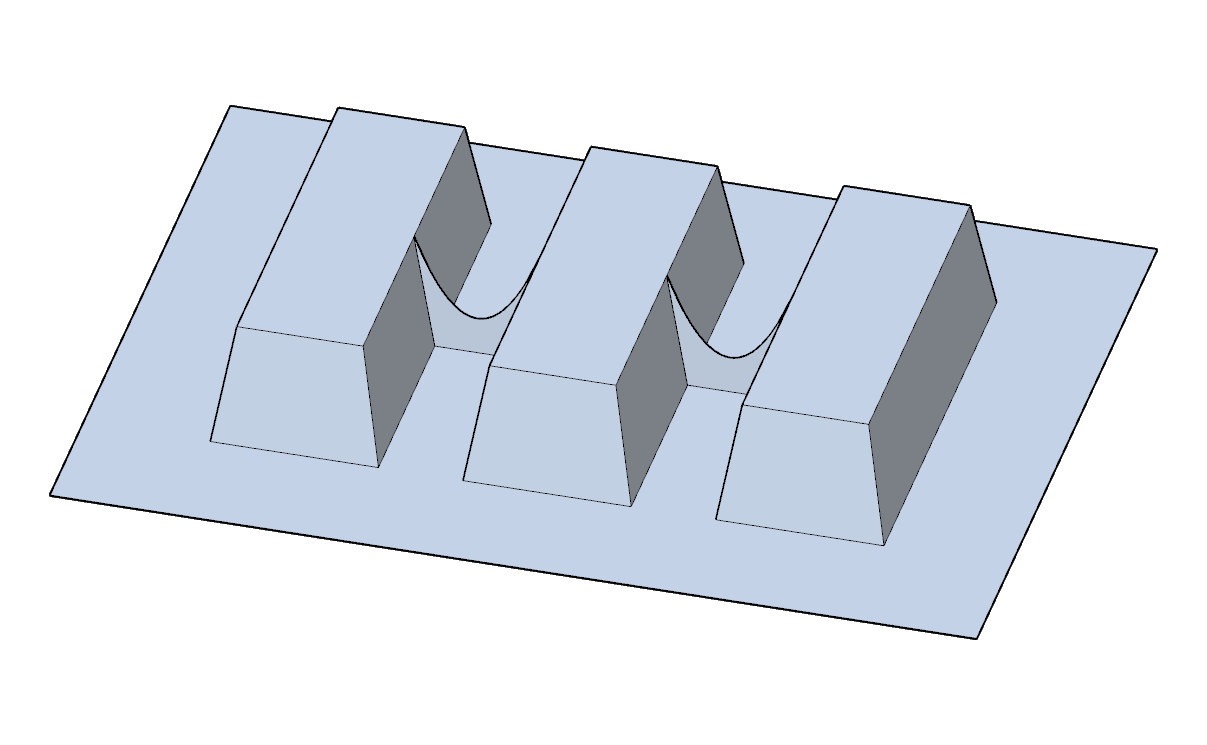
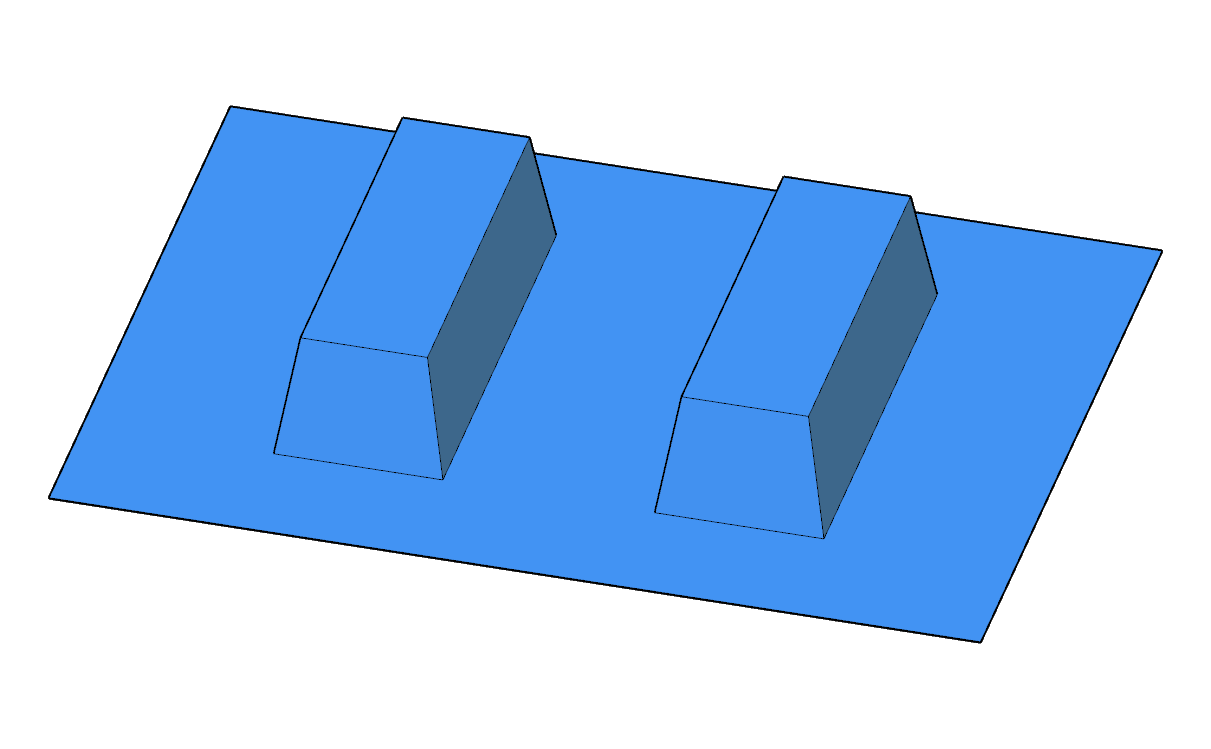
Proximity
Parts in close proximity to each other will result in webbing as material can not easily fall between parts during the initial stretching process.
The simples way to avoid this type of webbing is to ensure forming dies have been well spaced. This may mean forming less dies or reorienting dies for a more even distribution.
Alternatively, the moulding die can be inverted to create a negative die. This improves material flow, reducing material build up to create a more uniform moulding. Bleed holes should be added when deep pockets are present.
Steep Walls, Sharp Comers & Edges
The presence of steep walls and sharp corners can limit the plastic sheets ability to flow evenly across the die, resulting in material build up near sharp corners and along vertical walls.
This can be avoided by rounding off sharp edges (fillets) and applying draft angles to vertical surfaces.
Small Forming Die : Forming Area
If a large plastic sheet is used when forming a small die webbing will occur.
This can be avoided by;
increasing the forming die volume,
forming multiple dies at once or
creating a negative mould.
Alternatively, a reducing window can be installed to limit the amount of material that is utilised for the forming process. This will also reduce material waste as a smaller sheet of plastic can be used.
Shrinkage & Scrap Removal Allowances
As the formed plastic cools, some shrinkage will occur. This is highly dependent on the geometry being formed and should be considered when designing parts where tolerances are critical. Shrinkage can also increase the difficulty of removing the moulding from the forming die
When forming materials more likely to shrink, dFab recommends a draft angle >5° and no undercuts.
Thinning
Material thinning occurs when the forming die is initially driven into the heated plastic sheet. As the plastic stretches over the die, thinning will occur to accommodate for the sheet's expanding surface area. Thinning does not occur uniformly and is highly dependent on a dies geometry. Most thinning occurs at the site of steep/sharp edges and apexes.
Methods to reduce non-uniform thinning
Round off sharp edges (fillets)
Draft Angles >3,
Structural Ribbing
Pre-stretch plastic (bubble)
Large Vacformer ONLYPlug Assist
Sheets will also begin to thin substantially as the sheet gets closer to the outside perimeter of the die, where it is being held, this is unavoidable.
Last updated